

Room Door Installation: An Inspection and Handover Checklist
Inspect a newly fitted room door using a practical handover checklist for operation, hinges, locks, finish and snag closure before final acceptance.

- Kautuk Sahni
- 10 min read
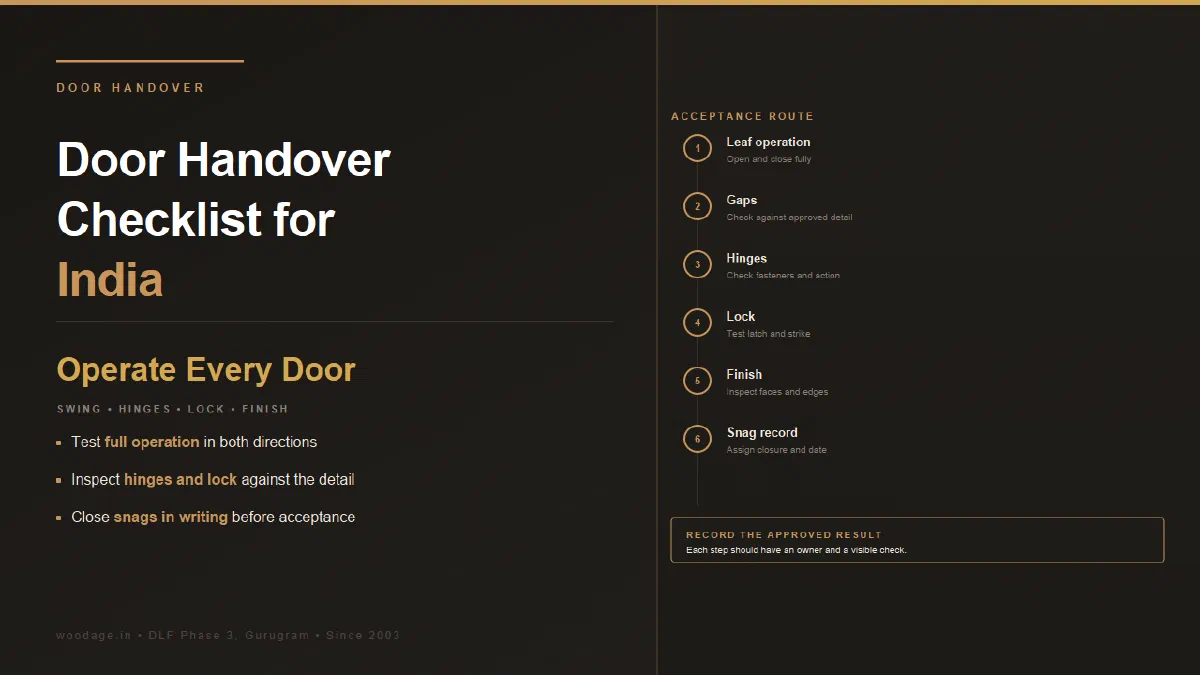
Quick answer: Inspect a room door as an installed assembly: leaf, frame, hinges, latch, stops, seals and surrounding finishes. Compare it with the approved drawing and supplier instructions. A door that closes once is not automatically accepted; it should operate through its intended travel without rubbing, unstable fixings or unresolved damage.
WoodAge is a factory-direct furniture and interiors manufacturer in Gurugram, working since 2003. This checklist gives homeowners, architects and fitters a shared handover record, whether the doors are going into a new-possession flat on Dwarka Expressway or a renovated home elsewhere in Gurugram. It covers ordinary room doors; fire, smoke, security and specialist acoustic assemblies require their own documented inspection criteria.
What to check before installation
Match each leaf to its opening ID and approved schedule. Confirm handing, finished floor level, frame section, finish codes and hardware. Photograph labels and transit damage while the parts are still identifiable.
Check that the opening is ready and that wet work or unfinished flooring will not change the agreed installation geometry. Confirm who is responsible for surrounding plaster, tile and paint repairs. An unresolved civil-work interface should be recorded before a finished leaf is modified to suit it.
The BIS product-manual directory identifies different flush-door construction standards. Product documentation and installation acceptance are separate: a material certificate does not prove correct on-site fitting.
Use three inspection hold points. Check the identifiable parts and unfinished opening before fixing; inspect the frame connection before it is concealed; then check operation and finishes after the final floor, stops and hardware are in place. A pass recorded before flooring or painting is not a pass for the later, changed interface. Write the drawing revision and inspection date on the door record so a defect can be compared with the detail that was actually approved.
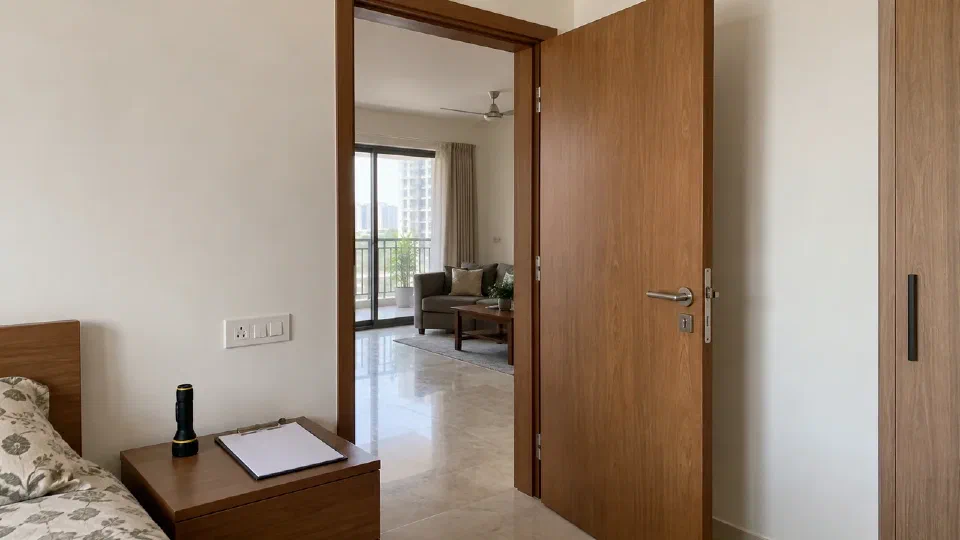
Copy this door inspection record
Download the blank door-handover record (CSV). Use one copy per opening and record the inspection stage, approved basis, photograph reference, responsible person and retest result. It is a planning aid for the checks below, not a completed inspection or a specialist doorset certificate.
| Check | Record | Acceptance basis |
|---|---|---|
| Door identity | Opening ID, supplier, construction and finish | Approved schedule |
| Frame | Visible condition, alignment and fixing assessment | Approved detail and installer confirmation |
| Operating gaps | Locations measured and any contact | Exact doorset instructions or agreed project detail |
| Floor interface | Full swing, threshold and intended coverings | Finished floor survey |
| Hinges | Correct model, complete fixings and stable operation | Selected hardware instructions |
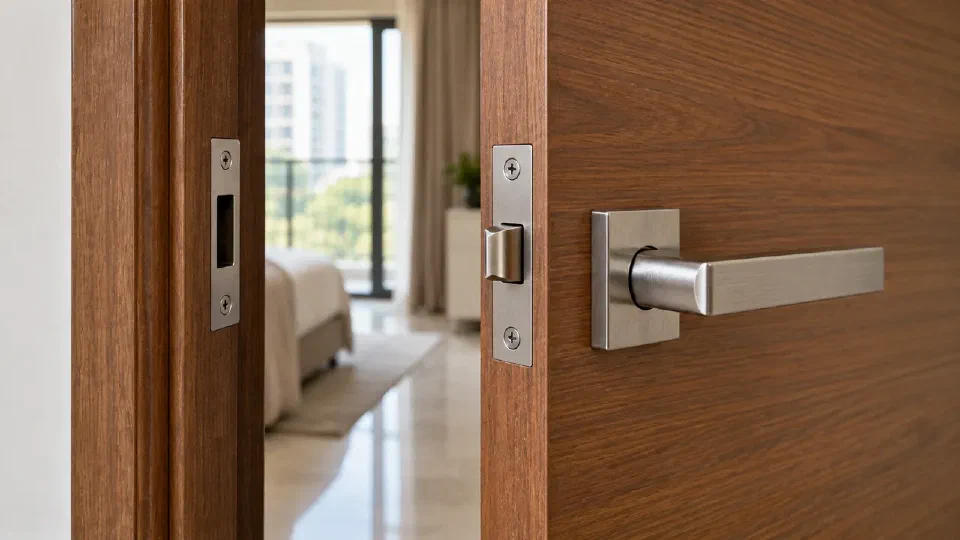
| Latch and handle | Engagement, release and accessible operation | Approved hardware function |
| Stops | Location and contact | Agreed opening and protection requirement |
| Edges and cut-outs | Finished or protected as specified | Leaf supplier instructions |
| Appearance | Scratches, chips, stains and visible mismatch | Approved physical sample and agreed inspection conditions |
| Close-out | Defect, responsible party, action and reinspection | Written snag record |
Do not invent one acceptable gap for every door. A design with seals, a threshold or a particular ventilation requirement may differ from an ordinary internal leaf. The basis must be written before an inspector uses it to pass or fail work.
Test normal use, not improvised overloads
Operate the leaf from both sides where accessible. Check the full intended opening, latch engagement and handle return. Watch for the frame or hinge mount moving during ordinary operation. Inspect whether the leaf contacts a wall, basin or furniture before the stop engages.
Do not hang a weight on the handle or perform an improvised slam test. Such actions are not substitutes for a specified product test and can damage the assembly or injure someone. If a numerical performance claim matters, request the applicable test evidence for the supplied system.
Sort snags by consequence
Stop use or seek immediate assessment: visibly loose supporting fixings, a leaf at risk of detaching, sharp broken material or a malfunction that compromises required escape or access.
Rectify before acceptance: persistent rubbing, latch failure, incompatible hardware, unprotected fresh machining or unresolved water-related damage.
Record cosmetic correction: chips, finish mismatch or incomplete making good. Cosmetic classification does not mean automatic acceptance; agree the repair method and inspect the result.
Record each snag against one door ID. “All doors need adjustment” is difficult to close. “D03 contacts the floor near its fully open position; photograph 07; installer to inspect the floor/leaf interface” can be verified later.
For each snag, record the observed condition, acceptance basis, proposed correction, responsible trade and retest result. A claim of noncompliance should point to the approved detail or supplier instruction, not an arbitrary “standard gap” found online. The JELD-WEN trimming table is a concrete example of why a repair that removes material may be allowed for one product but prohibited at a particular edge on another.
Retest what the repair could have changed
| Correction made | Recheck before closing the snag |
|---|---|
| Hinge or frame fixing adjusted | Secure normal operation, latch alignment and the complete gap pattern |
| Leaf edge machined | Written cutting allowance, restored edge finish, operating gaps and latch function |
| Floor, threshold or mat arrangement changed | Full swing at the highest finished point and the agreed bottom detail |
| Paint, seal or stop changed | Product-specified drying or curing, unobstructed movement and correct closing contact |
Record the result after the affected finishes and hardware are back in their final condition. “Repair attended” records a visit; “retested and accepted” records an outcome. This is a close-out method, not a substitute for a rated doorset’s inspection procedure.
Handover documents worth keeping
Keep the final schedule, product identity, hardware list, care instructions, written warranty and service contact. Record changes made during fitting. If a leaf was trimmed, retain confirmation that the modification stayed within its instructions and that the exposed area was finished appropriately.
JELD-WEN’s trimming guidance shows why the actual product instructions matter: different door types have different limits. Its figures should not be copied into an unrelated Indian installation checklist.
Check the work before it becomes concealed
Add an inspection during fixing, before architraves or other finishes hide the frame connection. Ask the installer to show the specified fixing positions, supports or packing, and how concealed services were located and avoided. Photographs should identify the door and the approved detail. A final visual inspection cannot establish what has already been covered.
Carry a tape, straightedge, light and the approved schedule. Measure at labelled points and record the instrument used; a coin or photograph alone is not a reliable gap measurement. Use ordinary operation to check the door, leaving performance testing to the specified procedure.
Illustrative floor check: a recorded bottom gap of 12 mm becomes 7 mm if a uniform 5 mm finish is added below the same leaf. That subtraction does not establish an acceptable final gap. It shows why the floor build-up and the door’s clearance requirement must be approved together. Measure at the highest point through the full swing, not only under the closed leaf.
A useful close-out entry reads: “D03, floor contact near full opening; installer to check level and adjustment; retest through complete travel after correction; finish restored; accepted by ___ on ___.” Keep a separate result for every door with a snag.
Indian references and common workmanship checks
India’s code of practice for selecting, installing and maintaining timber doors and windows is IS 4913, and timber frames are specified in IS 4021. Use them, and the leaf supplier’s instructions, as the written basis the record above asks for.
Three measurements make the record checkable:
| Check | How to do it | What a pass looks like |
|---|---|---|
| Frame plumb | A spirit level held on both jambs, on the face and the side | The bubble centred, and a closed-door gap that does not taper from top to bottom |
| Frame square | Measure both diagonals of the opening | Diagonals equal within a few millimetres, as agreed in writing |
| Operating gaps | A feeler gauge at the hinge side, lock side and head | Even all round; a common workmanship target for ordinary room doors is about 2 to 3 mm, agreed in writing |
The 2 to 3 mm figure is a common target, not a code requirement, and seals, thresholds and fire or acoustic doorsets change it. The bottom gap is decided by other trades: the finished floor, any mat or rug, and whether a room such as a bathroom with an exhaust fan relies on the undercut for air. Settle those before the leaf is trimmed. Leaf finishes are compared in flush vs membrane vs laminate doors, and why trimmed edges must be resealed is explained in the edge banding guide.
Evidence and Verification Notes
IS 4913 and IS 4021 were checked by title and edition in September 2026 as the Indian references for installing timber doors and for timber frames. The 2 to 3 mm gap is a common workmanship target rather than a figure quoted from those codes; write the agreed tolerance into the order before inspection.
Frequently Asked Questions
Should I sign the handover before the snags are repaired?
Record what has been accepted and what remains open, with responsibility and a reinspection date. Payment and acceptance consequences depend on the actual agreement; this checklist does not replace it.
Is a perfectly uniform visible gap the only quality test?
No. Appearance, clearances, fixing integrity, operation and the approved performance requirements must be considered together. A tidy gap cannot compensate for an unstable frame.
When should a fitted door be inspected?
Inspect before fixing, during fixing before the frame connection is concealed, and after final floors, finishes, stops and hardware are in place. Record the drawing revision and any change between stages.
How should the latch and lock be tested?
Operate them normally from the intended positions without lifting, forcing or slamming the leaf. Record any contact, excessive effort or inconsistent engagement against the door ID.
Which documents should remain after handover?
Keep the final door schedule, product identity, hardware list, care instructions, warranty route, approved changes and closed snag record. These make later service decisions traceable.
Can this checklist be used for a fire-rated door?
Only as a general record alongside the rated doorset’s own inspection and certification requirements. A specialist assembly needs its exact evidence, labels, hardware and installation criteria.
What gap should there be around a room door?
An even gap of about 2 to 3 mm at the hinge side, lock side and head is a common workmanship target for ordinary room doors. More important than the exact number is that it is even: a gap that tapers shows a frame out of plumb or a door that has dropped. Agree the figure in writing before installation.
How do I check that a door frame is plumb and square?
Hold a spirit level against both jambs, on the face and on the side, and check the bubble. Then measure both diagonals of the opening; they should be equal within the agreed tolerance. A closed-door gap that narrows from top to bottom is a visible sign that the frame is out of plumb.
For a project in Gurugram or Delhi NCR, use WoodAge’s custom furniture service to discuss the measured requirement and written scope. Product suitability and the final BOQ must be confirmed for the actual order.
Related Guides From WoodAge
- Door material comparison - for leaf construction and surface choices.
- Interior handover snag list - for recording operation and finish defects.
- Main-door lock guide - for lock compatibility with a door assembly.
- Factory dispatch checklist - for receiving and identifying the approved parts.
- Modular Kitchen Handover Snag List: 47 Defects to Catch Before Final Payment - Useful next reading on hardware planning, costs, materials, or execution.
- Cabinet Board Failure: Swelling, Sag and Loose Hinges - Useful next reading on hardware planning, costs, materials, or execution.